

I finally decided to go ahead and install fogs on my 2010 3i. I'd been hoping someone would do a write-up first because I wasn't sure if I could do this, but got antsy and did it myself over the weekend.
All in all, the install went without a hitch and turned out to be a fun weekend project (and a good way to save $160 on installation costs). It's pretty much wrenching and plug 'n play, which anyone can do. If you're anything like me, you should set aside a few hours to do this -- but keep in mind I'm quite a bit slower and meticulous/organized than most when I do this sort of thing. Especially since I hadn't taken the front bumper off previously. It's less intimidating than it initially seems, and isn't difficult by any stretch with good instructions.
Below are some pics and (and words too!) regarding the install. Probably in more detail than is necessary. I hope it gives the more hesitant among you an idea of what to expect, to motivate you to give it a shot yourself, and to elucidate any issues one might encounter along the way.
But who am I kidding? Most of you are probably zipping around in your fancy GT model while I sob myself to sleep every night. :crybaby 1: :wink 1:
1) The Parts:
![Image]()
(Fog Lamp Enclosures, Lamp Hole Covers, Bumper Covers, Wiring Harness, Turn Signal Stalk, and Hardware).
![Image]()
Fog Lamp Enclosure backside
Amazingly, the fog lamp enclosure included some Sylvania bulbs already pre-installed, but I'd previously bought some whiter high temp ones without this knowledge. I'll keep the Sylvi's for spares, unless anyone here want to buy them off of me at an exorbitant price. Shipping is only $75. PM me for bids.
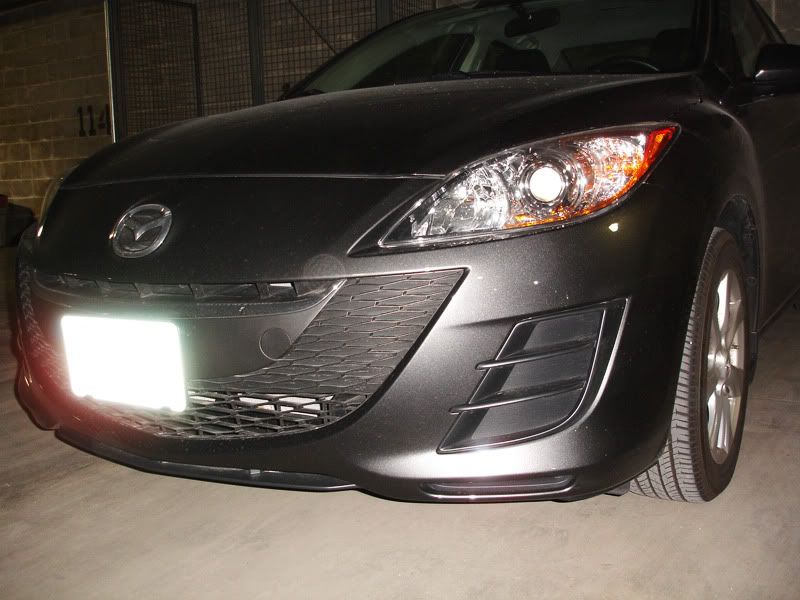
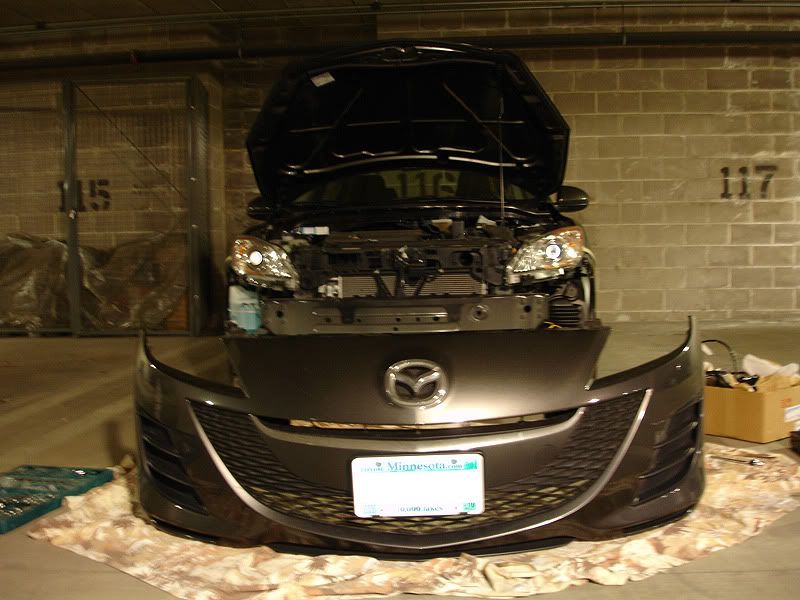
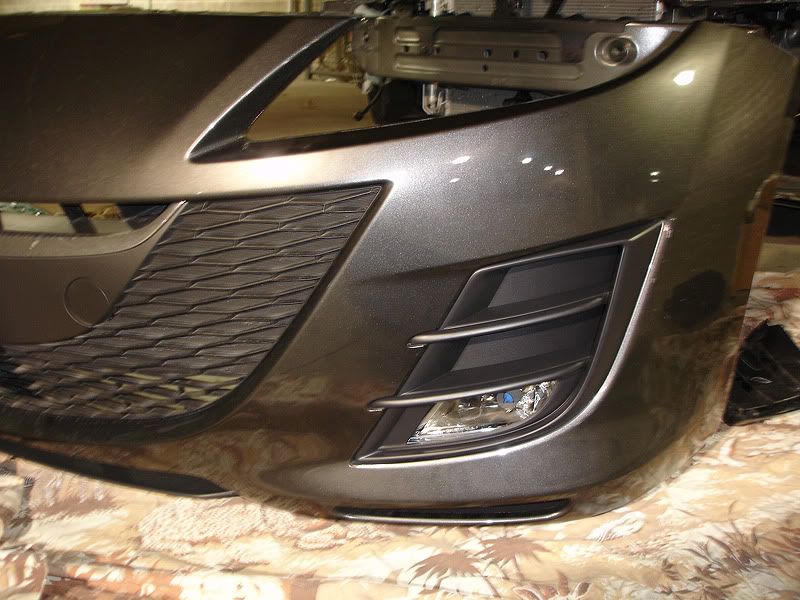
2) Before:
![Image]()
![Image]()
The poor filthy cover had no idea of its soon-to-be fate -- to be heartlessly discarded and never washed again. To live out its days enclosed within a cardboard box inside a closet -- soiled without the comforts of bubble wrap or packing peanuts.
More soon...
All in all, the install went without a hitch and turned out to be a fun weekend project (and a good way to save $160 on installation costs). It's pretty much wrenching and plug 'n play, which anyone can do. If you're anything like me, you should set aside a few hours to do this -- but keep in mind I'm quite a bit slower and meticulous/organized than most when I do this sort of thing. Especially since I hadn't taken the front bumper off previously. It's less intimidating than it initially seems, and isn't difficult by any stretch with good instructions.
Below are some pics and (and words too!) regarding the install. Probably in more detail than is necessary. I hope it gives the more hesitant among you an idea of what to expect, to motivate you to give it a shot yourself, and to elucidate any issues one might encounter along the way.
But who am I kidding? Most of you are probably zipping around in your fancy GT model while I sob myself to sleep every night. :crybaby 1: :wink 1:
1) The Parts:

(Fog Lamp Enclosures, Lamp Hole Covers, Bumper Covers, Wiring Harness, Turn Signal Stalk, and Hardware).
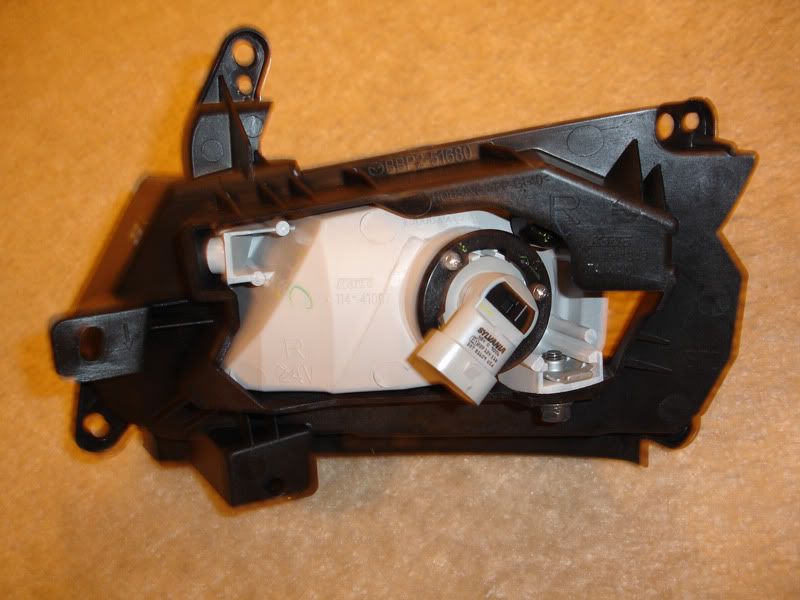
Fog Lamp Enclosure backside
Amazingly, the fog lamp enclosure included some Sylvania bulbs already pre-installed, but I'd previously bought some whiter high temp ones without this knowledge. I'll keep the Sylvi's for spares, unless anyone here want to buy them off of me at an exorbitant price. Shipping is only $75. PM me for bids.
2) Before:
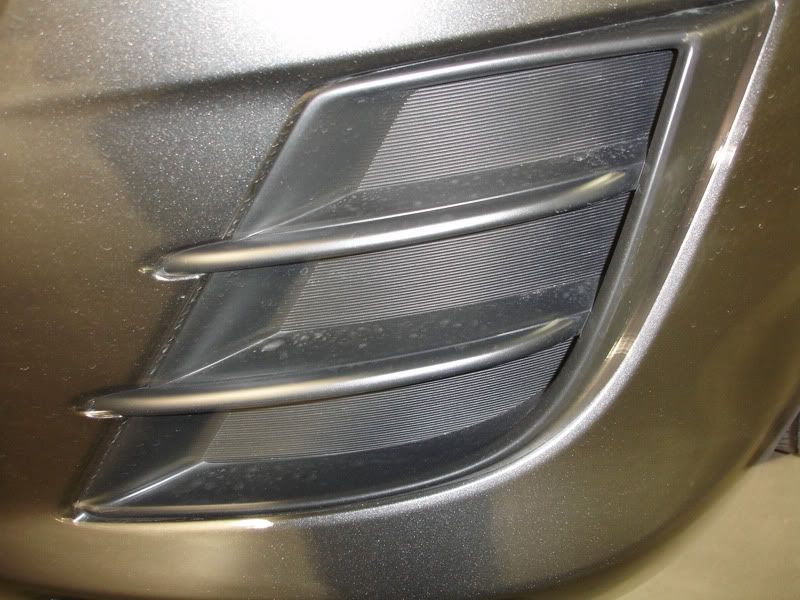
The poor filthy cover had no idea of its soon-to-be fate -- to be heartlessly discarded and never washed again. To live out its days enclosed within a cardboard box inside a closet -- soiled without the comforts of bubble wrap or packing peanuts.
More soon...


")


